🚀 Work 1:1 with a Software Engineer and automate everything you hate doing → https://www.skool.com/ai-academy-with-robby-6849/about
Getting Your Code on the Web
Hi everyone! I’m Robby. As a software engineer, one of the coolest parts of the job is taking a project from my laptop and making it live for the world to see. If you are new to coding, putting your first website online might feel like magic, but it’s actually a simple process once you know the steps.
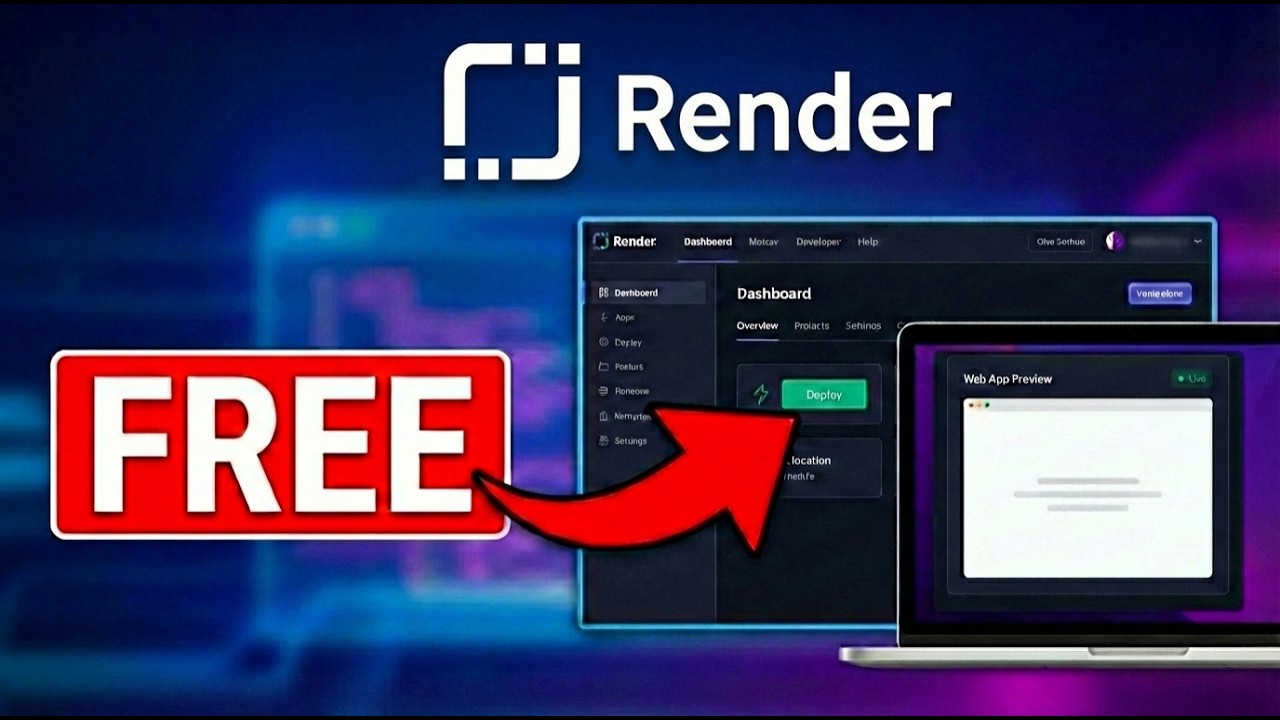
Today, I’m going to show you how to host your web app for free using a platform called Render.
Step 1: Getting Your Project Ready
Before we hit the internet, we need to make sure our project is organized so the computer knows what to do. Here is your checklist:
app.py: This is your main file. It acts as the brain of your website.requirements.txt: This file tells the server which "tools" (libraries) your app needs to run. If you use Python, you can create this by running a simple command in your terminal.- Organize your folders: Keep your code tidy so the server can find your files easily.
Step 2: Connect to Render
Render is great because it connects directly to GitHub. This means every time you update your code in GitHub, your website updates automatically!
- Create an account on the Render website.
- Link your GitHub account so it can see your projects.
- Choose "New Web Service" and select the repository you want to put online.
Step 3: Tell Render How to Run Your App
Since we are using Python, we need to tell Render how to "start" our app. We do this with two commands:
- Build Command: This installs all the requirements from your
requirements.txtfile. - Start Command: This tells the server to run your code using something called Gunicorn. Think of Gunicorn as the engine that keeps your app running.
Step 4: Keeping Secrets Safe
If your app uses secret passwords or API keys (like for AI tools), never hardcode them directly into your file!
Render has a safe place called Environment Variables. You can plug your secret keys in there, and they stay hidden from the public while your app still gets to use them.
Step 5: Go Live!
Once you click "Deploy," Render starts working. It might take a few minutes to build, but then you will get a unique link. You can share this link with your friends and family to show them what you built!
Remember, the free tier is perfect for learning and showing off your projects. It’s not built for millions of users yet, but it is exactly what you need to understand how the internet really works.
Happy coding!