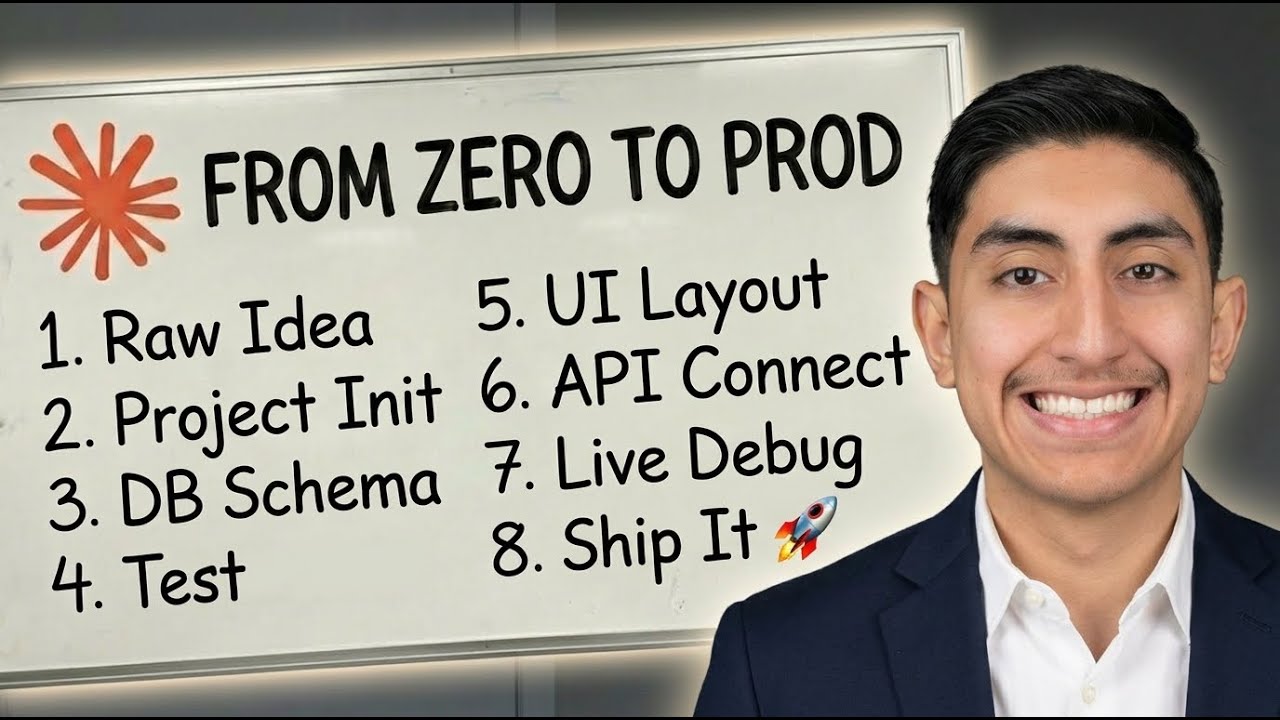
In this live stream I build a video recording app from scratch with Claude Code. The problem is personal: editing a talking head and a screen recording separately takes too much of my time, and I wanted one app that records both in a single layout. This post covers the workflow that made it work, in the order I used it.
The goal
I screenshotted a layout I liked from another creator's video: the screen recording as the main area, the talking head cam on the side, and a colored background behind both. The app should record that whole canvas at once, so the layout is done before editing starts.
I work as a software engineer full time, and this is how I use AI at work too. I am not claiming to be an expert, only sharing what has worked.
Step 1: plan before you build
I start every project in plan mode (press Shift + Tab to switch to it). This is spec driven development: before any code, Claude and I agree on a written plan.
The key habit is to make the planning two directional. Do not just tell Claude everything. Ask it to interview you, and answer its questions. I gave it the reference image and said what I wanted, and Claude asked:
- Which platform should it target? I chose a web app for now.
- What should the screen recording capture? A specific window, or the whole display. I chose both options.
- Should audio be included? Yes, with a choice of input device.
- Where should the result go? A video file on my computer, with live streaming as a later goal.
The interview pulls ideas out of you that you would not have written down yourself. When Claude asked about a virtual camera output and I did not follow it, I asked for a simple explanation instead of guessing.
Step 2: save the plan, then clear the session
This is the practice I most want you to copy. A long conversation fills the context window, and a bloated context makes an agent forget things, confuse details and hallucinate. The goal is to keep the context as lean as possible.
So at the end of planning I told Claude to save the implementation plan and any essential context to a file in my project folder, and then to give me a follow up prompt for a new session. I pasted that prompt, cleared the session, and started fresh. Nothing important was lost, because it lived in a file.
The rule I follow: one session per task. Planning is one phase. Building is the next.
Step 3: build in phases
The build phase moves phase by phase, not all at once. Sub agents (or workflows) can speed this up by working in parallel, but I kept it simple for the first run. I was on the Sonnet model in Claude Code, with Antigravity open next to it as a backup that could bring in Gemini models if I got stuck.
Expect an iterative process. You will not get it right on the first try, and you should not expect to. You have blind spots, and they only show up once you use the app.
The first prototype
The first prototype worked. It could share a screen, show my webcam, pick up my microphone, and let me change the background color of the canvas. I could choose which camera, which microphone and which screen to use, which matters on a setup with an external monitor.
The feature that took an hour
Next I asked for a blurred background on the talking head. That one prompt took about an hour to finish while I answered questions from the chat, and I almost ran out of usage waiting. When it finished, the blur worked. I also said that I should have tried Gemini 3.5 Flash for it, because those models are very fast.
What I would tell you to take away
- Start in plan mode and let the AI interview you.
- Save the plan to a file in the project.
- Clear the session between phases and keep the context lean.
- Build in phases, and test each one.
- Build for your own problems. Look at what annoys you, and ask if software can fix it.
This was the first part of a series. Part two adds zoom, a border highlight and a full face cam: Claude Code live build, part 2.